
If you are a new user of Visual Studio in Windows 10, you may be wondering how to update Visual Studio code on your machine. This article will cover the steps needed to install VS Code, configure it for automatic updates, and troubleshoot any problems that may arise. It is highly recommended that you backup your files before updating Visual Studio, so you can always get the latest version. After following these steps, you should be able to update Visual Studio code on your machine without any hassle.
Installing VS Code
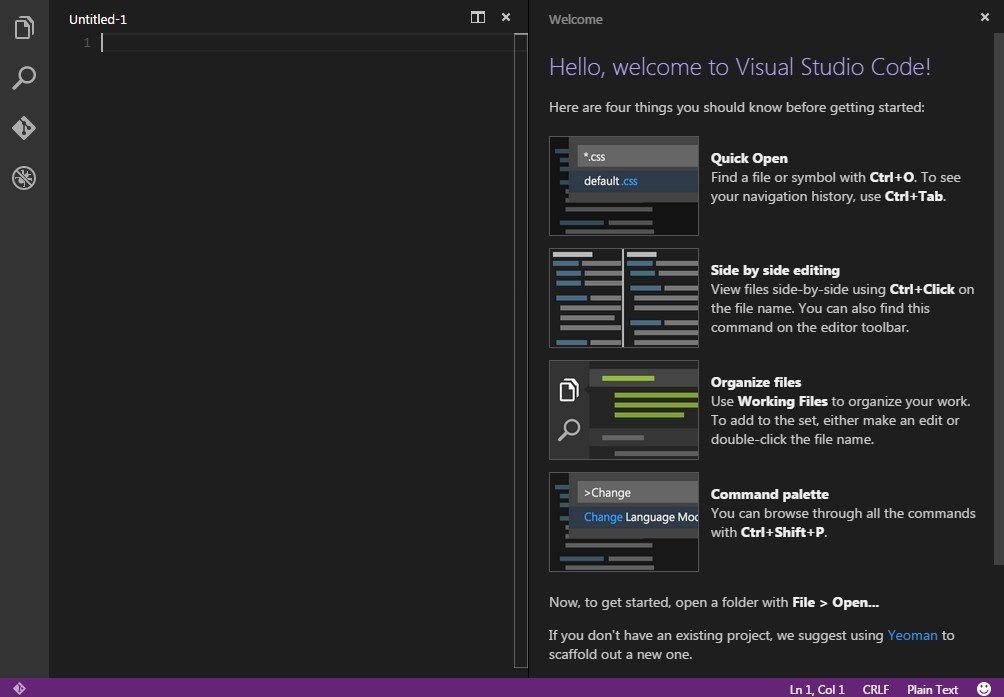
Before you can start using VS Code, you must install it first. If you haven’t yet done so, follow these steps to install the program in Windows 10.
Open the downloads folder in your computer and find the Microsoft Visual Studio Code installer. Click the installation icon. The installation wizard will then ask you to accept the license agreement and set up the program on your PC. It may ask you to change the installation folder location. You can also select the name for your shortcut folder, or skip the installation altogether. Once you are done with the installation, Visual Studio Code will start working in the background.
Next, you need to customize the software. On the VS Code main page, select the “Get Started” link. This will display a list of available themes for Visual Studio Code. You can then configure the software using color themes. To preview the available themes, use the direction keys on your keyboard. To apply a theme, left-click on the palette. Then, select the corresponding theme. After that, the visual editor will display the command palette.
Configuring it for automatic updates
The first step is to configure the Update channel in Visual Studio. The update channel has two options, LTSC and Preview. You must be a Professional or Enterprise customer to enable the latter. When selecting the former, you must select the update source. The other option is to defer the installation of the update. You must enable Windows Update before your Visual Studio can automatically download and install the update. Once you have enabled Windows Update, you can close the update settings dialog box.
To configure Visual Studio Code for automatic updates in Windows 10, go to Start > Preferences>Deployment. Select the development folder and then click the ‘New File’ icon. Make sure to enter the proper file extension, as it is required by the program to recognize the contents. After choosing the extension, click the ‘Save’ button. Then, click the ‘OK’ button to confirm your change.
Troubleshooting problems with updates
To troubleshoot problems with the Visual Studio Code update, first check whether it is installed in a user’s profile. The program checks for new bits to install and will restart after installation. Sometimes updates aren’t properly applied because a system administrator changed a setting. If this happens, you should open the Help menu and find “Force Update”. This will download a zip file.
If VSCode crashes or freezes, you may have outdated graphics drivers. Disabling GPU hardware acceleration can help the program run more smoothly. If this fails, reinstall the program. Alternatively, you can run a clean Windows 10 installation. If the issue persists, you may need to contact Microsoft Support. Make sure to include the most recent setup log when reporting the issue. It will help Microsoft support if you’re unable to troubleshoot the problem.