
To install Android Studio, you must install Java Runtime Environment (JRE) first and then follow the wizard to install other necessary components. This step might take some time, depending on your internet connection. After you have completed these steps, you can install Android Studio on your PC. Follow the steps below for installing Android Studio on Windows XP 32-bit. If you have any questions, feel free to ask me.
Installation wizard
To install the Android Studio for Windows, download the zip file or the exe installer. Double-click the downloaded file to begin the installation process. Then, select the components you want to install. You’ll need a minimum of two GB of RAM and a hard drive with 500 to 700 MB of free space. The Windows version of the program is also compatible with 64 bit operating systems.
Java Runtime Environment (JRE)
First of all, you will need to install Java on your PC. It is a system requirement and you will need it to run any Java application. In the system tray, you should see an icon for Java. If you cannot see this icon, you will need to go to the Control Panel and click on Java. Double-click on the icon to open the settings. Next, click on the Environment Variables tab and click on the path variable. The bin folder should now be listed under the Variable Value.
Intellij IDEA platform
If you want to develop Android applications and are running Windows XP 32 bit, you can download IntelliJ IDEA platform for Android studio. This software has a complete development environment and includes tools for debugging, coding, performance monitoring, variation compatibility checking, and smart iteration. Moreover, it includes a powerful code editor that offers automatic code completion and analysis. Its easy-to-use features include code completion and analysis and the ability to set up with phone skins and resolutions. The download package is difficult to run for a newbie, however, it has a large collection of sample source codes, libraries, and debuggers.
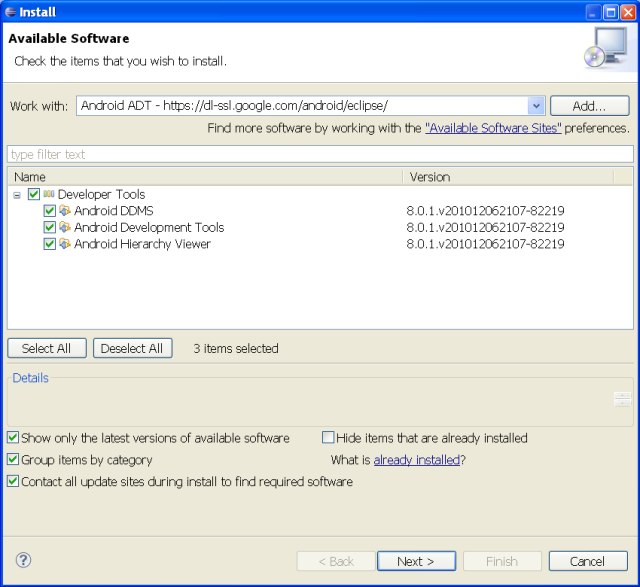
SDK Manager
To install Android Studio in Windows XP 32 bit, you must first download the SDK Manager. The manager is a handy application that can help you install Android SDK tools and other necessary software. You will find the SDK manager in the Start Menu folder. Double-click on this tool to install it. Once installed, it will open a dialog box. Click the “Start” button at the bottom.
Layout Editor
The Layout Editor on Android Studio for Windows XP 32 bit looks like figure 3. It displays the layout hierarchy, and the Component Tree panel lists the elements that make up the current view. Default layouts have the Basic Activity type, with a floating action button and menu in the upper right corner. Otherwise, you can choose the “empty activity” style, which has no chrome. The layout type and package name you select will determine the final name of your application when uploaded to the Play Store.